Now that we are in March, spring feels close enough to taste! A few warm days last week had me hightailing it to my spot in the parking area with Cinder. I replenished my vitamin D with some sunshine on my face as I dutifully read my sommelier course homework, while Cinder paced around, sniffing all the new intriguing odors that had accumulated over the winter. I wish I had her nose for my course. The reward for wading through 100 page chapters each week on viticoltura and enologia is that we get to taste four wines at the end of class and are learning how to correctly describe them. My nose definitely needs more training because while I can usually identify red fruit or sometimes a rose, I am not one of the star pupils who eagerly calls out “plums,” “liquorice,” “sour cherries”, or my personal favorite “a hint of violet.” WTF? Are these people messing with me? Only after the instructor tells us what we should be smelling, can I sometimes catch a whiff.
The good news is that soon I will be back at work at Poliziano and able to show off all my fancy new wine knowledge to loads of unsuspecting tourists. In the meantime, I am writing, teaching English, and learning some Tuscan recipes. Those of you who have been following my adventures know that my neighbor Marinella has been like a mom to me here. Not only does she take care of Cinder when I am working, she is quick to chastise me if I go out with my hair wet, but then will later stop by with some of her homemade pasta and ragù. She happily recites recipes for me when I need one, but what I really wanted was to see her in action in the kitchen. Because so many people have been writing to tell me how much they enjoyed At Least You’re in Tuscany and wanting to know when the next installment is coming, I decided that I really wanted the next chapter of my life here to be about my “becoming Italian.” And a big part of that includes cooking the local foods. Marinella, who seemed quite pleased with her part in the first book, has eagerly embraced her role as teacher. We started with ribollita which is my favorite Tuscan bean soup and then this week we moved on to pasta. We spent an afternoon making pici and tagliatelle… a mano. By Hand. Or as my colleague Fabio at Poliziano continues to say even after I’ve corrected him twenty times, “by hands.” As he reasonably pointed out, it’s better if you use two!
I made this tagliatelle recipe with Marinella on the weekend, and then this morning I did it on my own so I could “fare practica” as Marinella said. To practice.
Marinella’s Tagliatelle:
4 eggs (basically 1 egg per person is the rule) so this feeds 4
Salt, a little bit of olive oil
Flour (she used 00 and I did too) (she does it by sight, but it’s roughly about a cup of flour for every egg)
Mix eggs, salt, and oil in a bowl. Add flour. (If you are fancy and want to do the flour well and put your eggs inside and mix that way, feel free. Marinella said she doesn’t enjoy the stress of the eggs escaping the flour so she does it in the bowl.)
Basically continue to add flour until it comes together to form a ball. She does it by sight and I did too. When it is together, knead on floured board until it is pliable and no longer sticky. Let rest 5 minutes.
Roll out the dough thinly on a large lightly floured surface. The pastry board they use to roll out the pasta is called a spianatoia and the rolling pin a matterello. The rolling pin is really really long and allows you to drape the dough over the pin, while you are rolling it out. This part of the process takes a a bit of time to get the dough really thin. The dough is quite elastic and so is easy to move around as you work. After you get it very thin, you need to let it dry. I yelled to Marinella out my window to come over and check on my work and she was quite pleased and said it was the perfect thickness. I could tell she was proud because she even gave me a hug and a kiss, which she doesn’t often do. Usually you leave the sheet of pasta to dry for about a half an hour, but because it’s really humid today, I left it an hour. (Make sure while it’s drying that if you have an inquisitive aging weimaraner you keep it out of their reach.)
The last step is to fold it and cut it. I folded it in on itself twice and then doubled it over. There are many ways to do this and you can watch online if you want to see some variations. Then you cut it. When Marinella cut it she cut the strips rather wide because that’s how her husband likes them and I followed her lead. But really the wider variation is called pappardelle, not tagliatelle. Same yumminess, different width!
So after you cut your pasta and unfold each piece, you can put them in a bit of flour to keep them from sticking. Best to eat the same day (with a tasty ragù) or make into nests and pop in the freezer. If you leave it in the fridge, it will become a clumpy mess as I discovered with the pici.
Cook in Boiling water for about 6 minutes. Doesn’t take long and if you cut them thinner they will take even less time. I called my friend Valerio to be my guinea pig and he obligingly took some home to try. I await the verdict, but I had it for lunch and it was pretty darn good. I froze the rest.
Buon appetito!
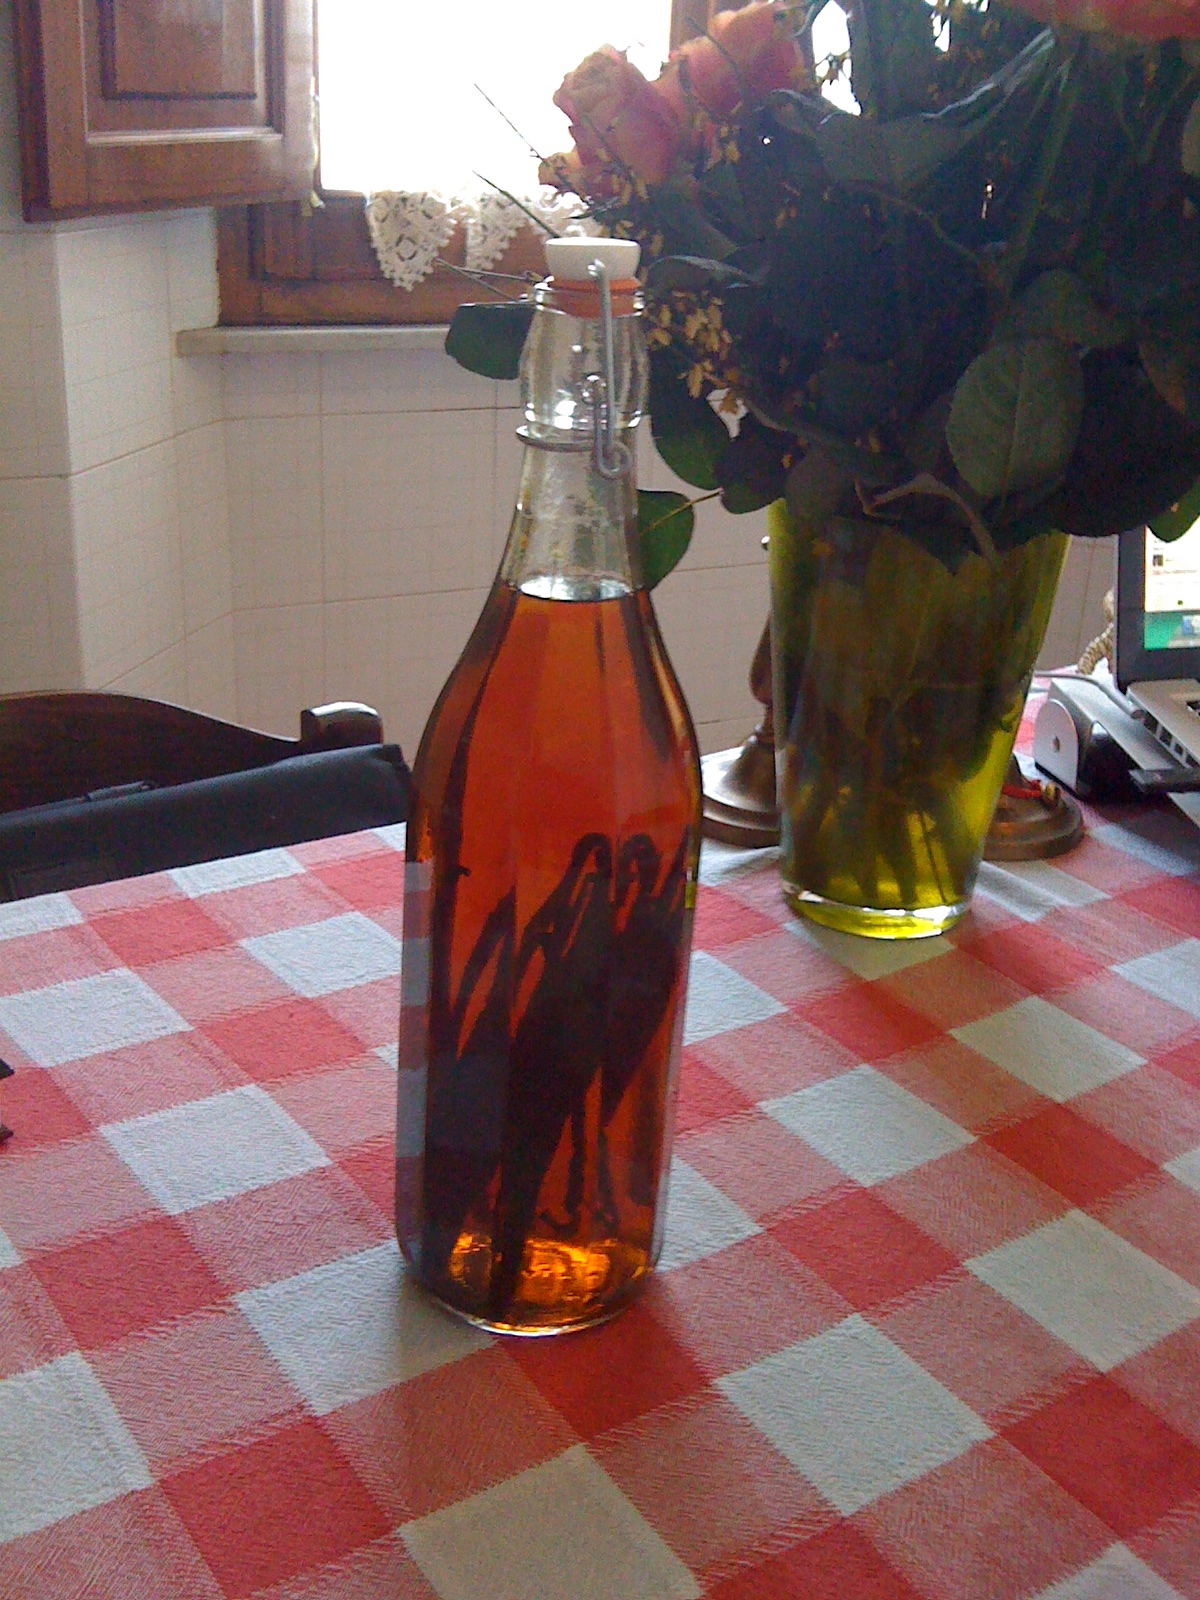
Since we’re talking about fatto a mano, this is my homemade vanilla that I started in December… basically the recipe is vodka with vanilla beans. I made A LOT because I cannot find vanilla extract here! It needs a bit more time but I just used it and it’s great.
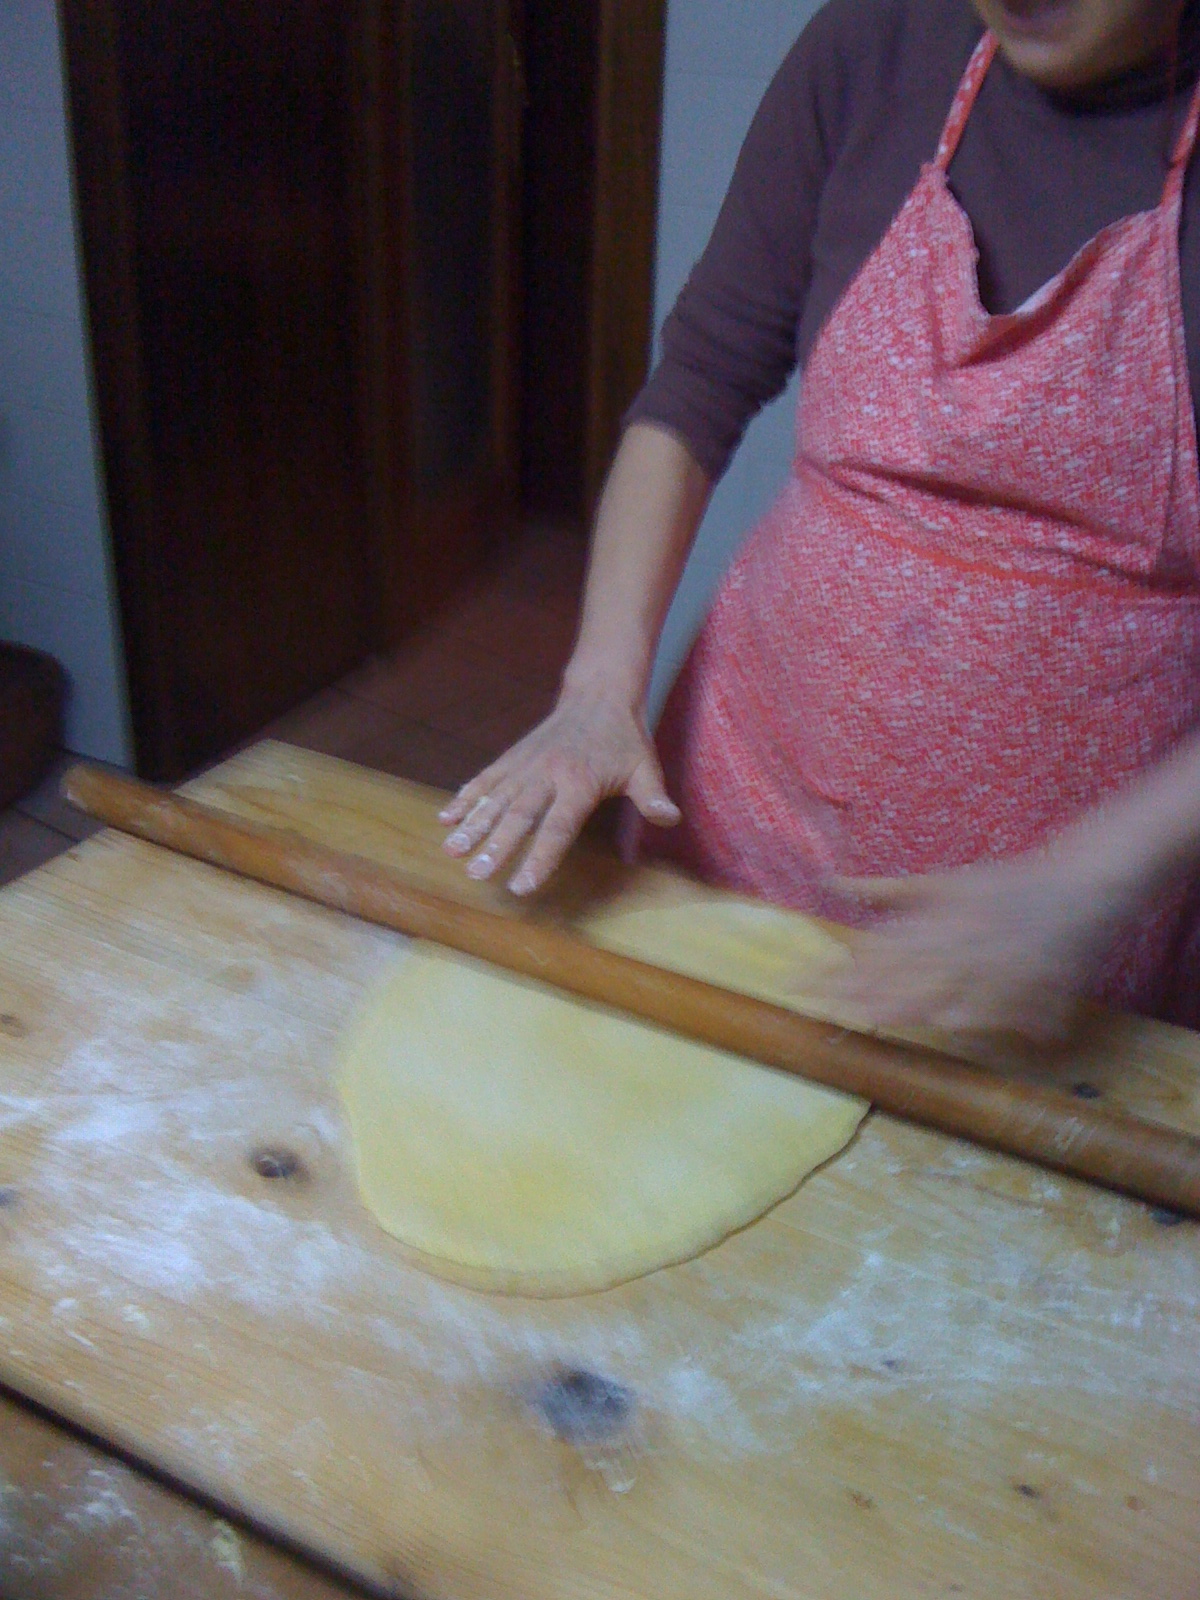
Marinella rolling out the dough for tagliatelle
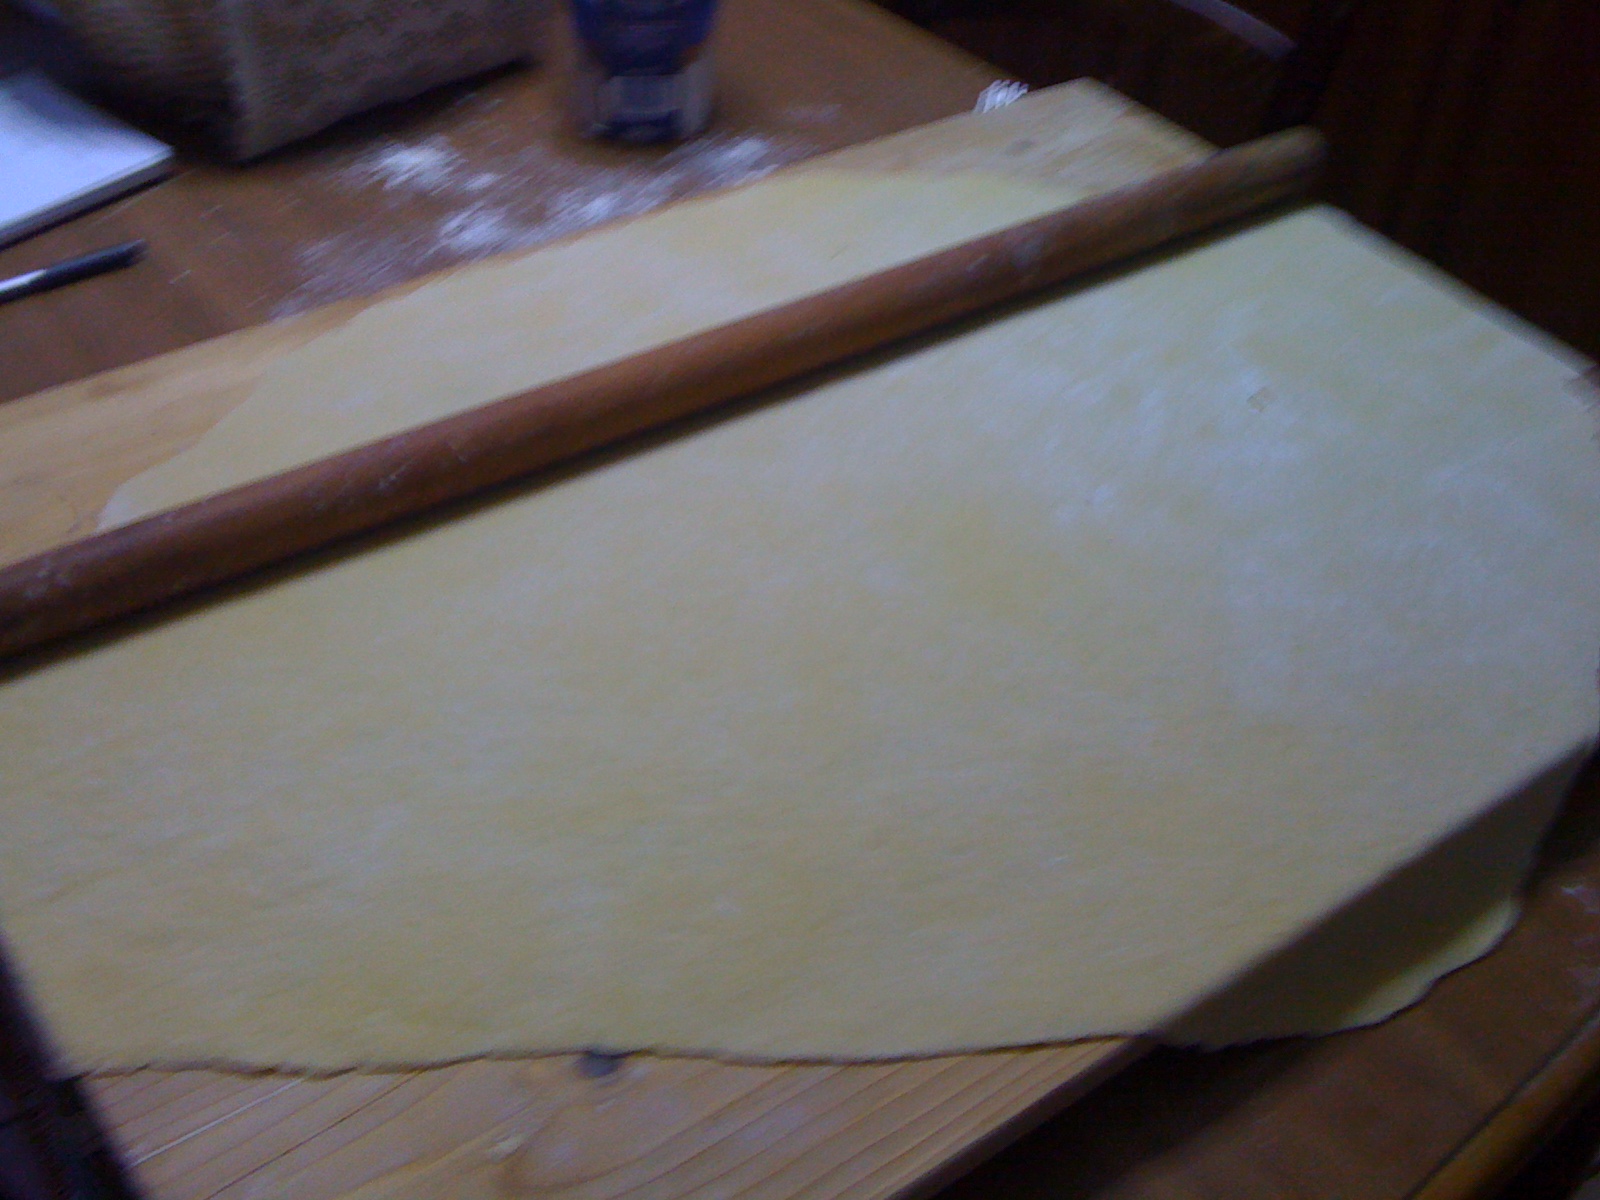
It gets really big!
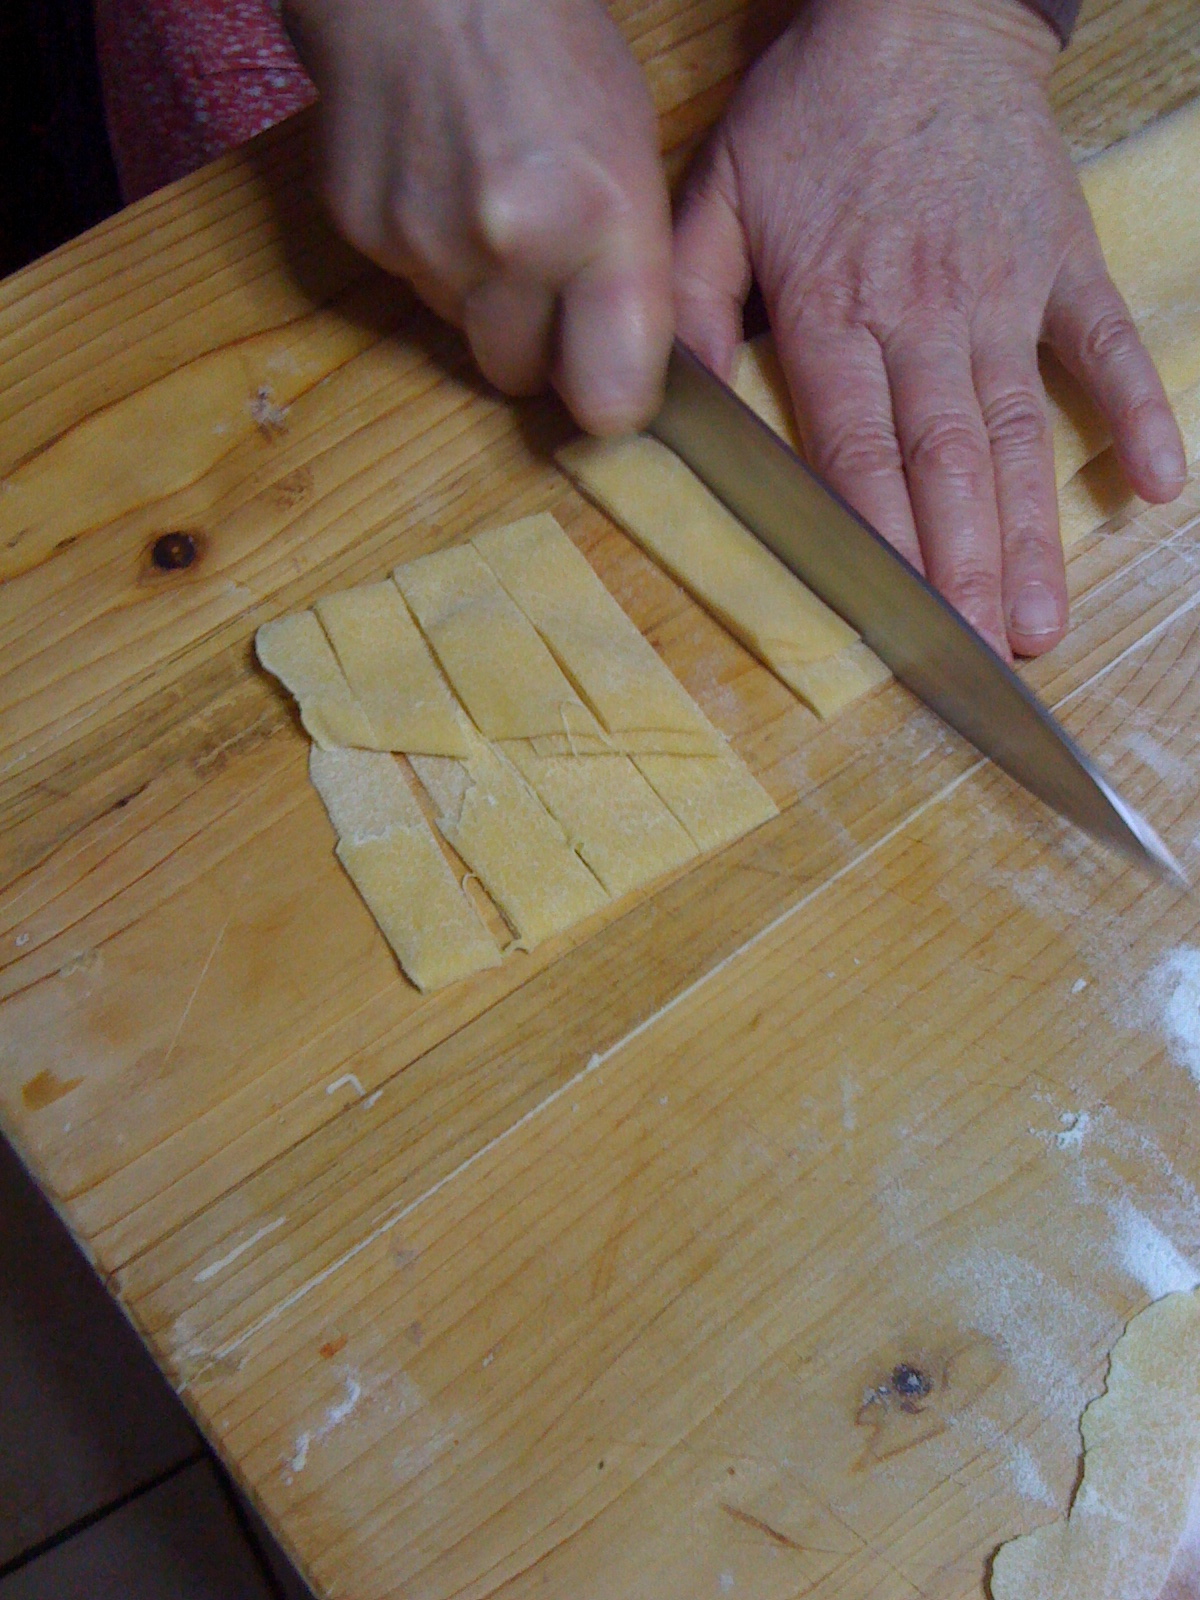
Cutting the pasta into strips…
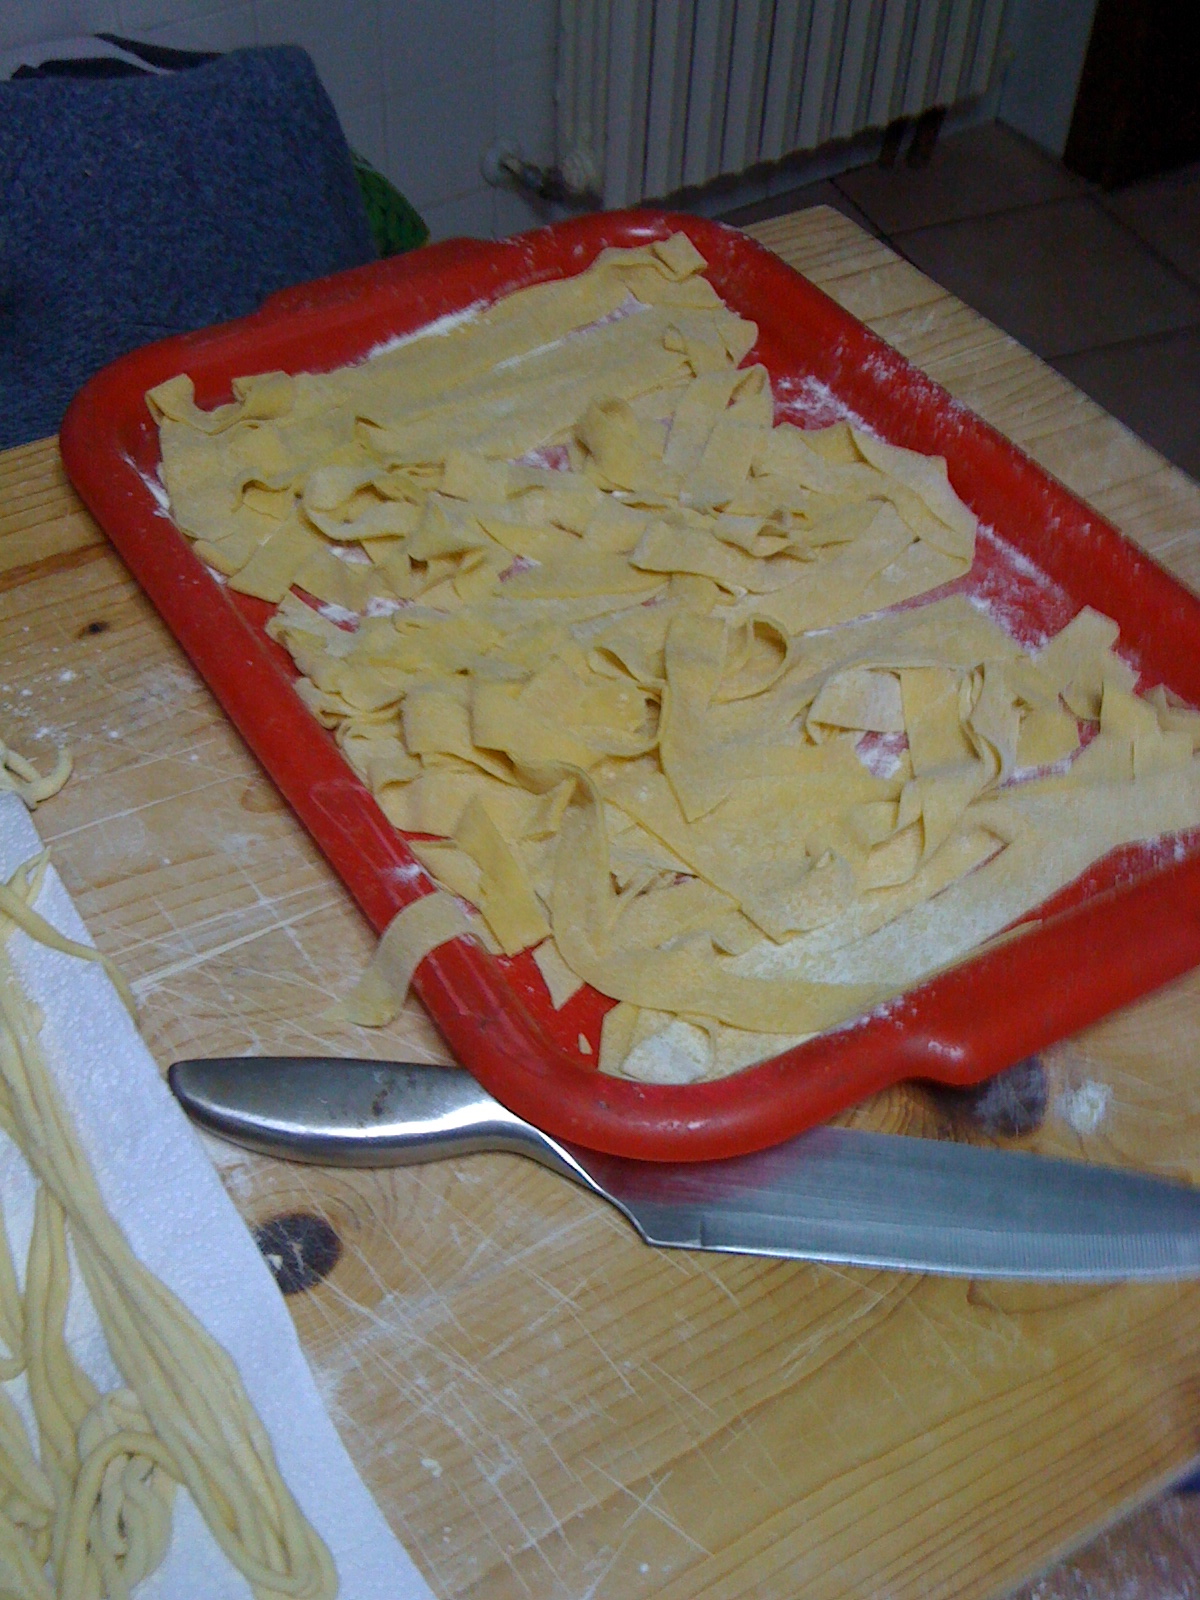
Tagliatelle!
My attempt today on my own…
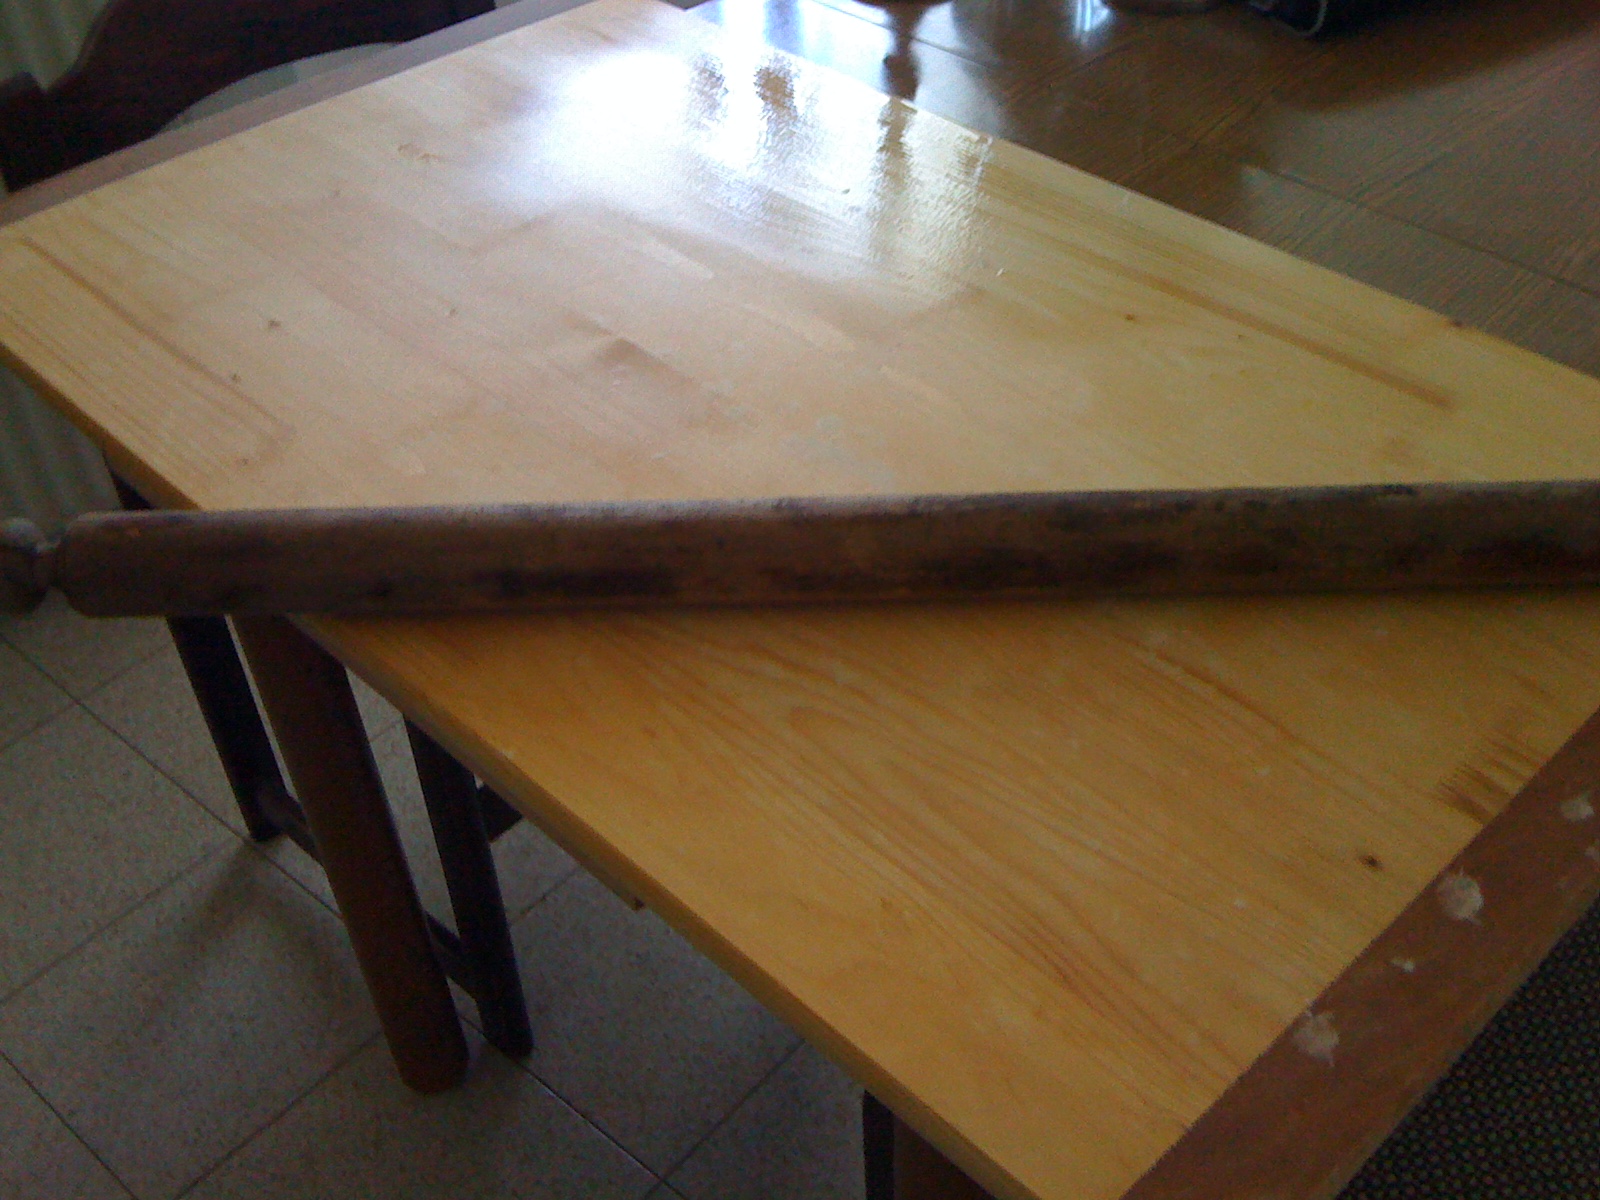
Preparing my “tools” — My pastry board needed to be cleaned with bleach due to a mold issue from where it had been stored in my kitchen. The authentic Tuscan matterello was a gift from Marinella and is now one of my treasured possessions.
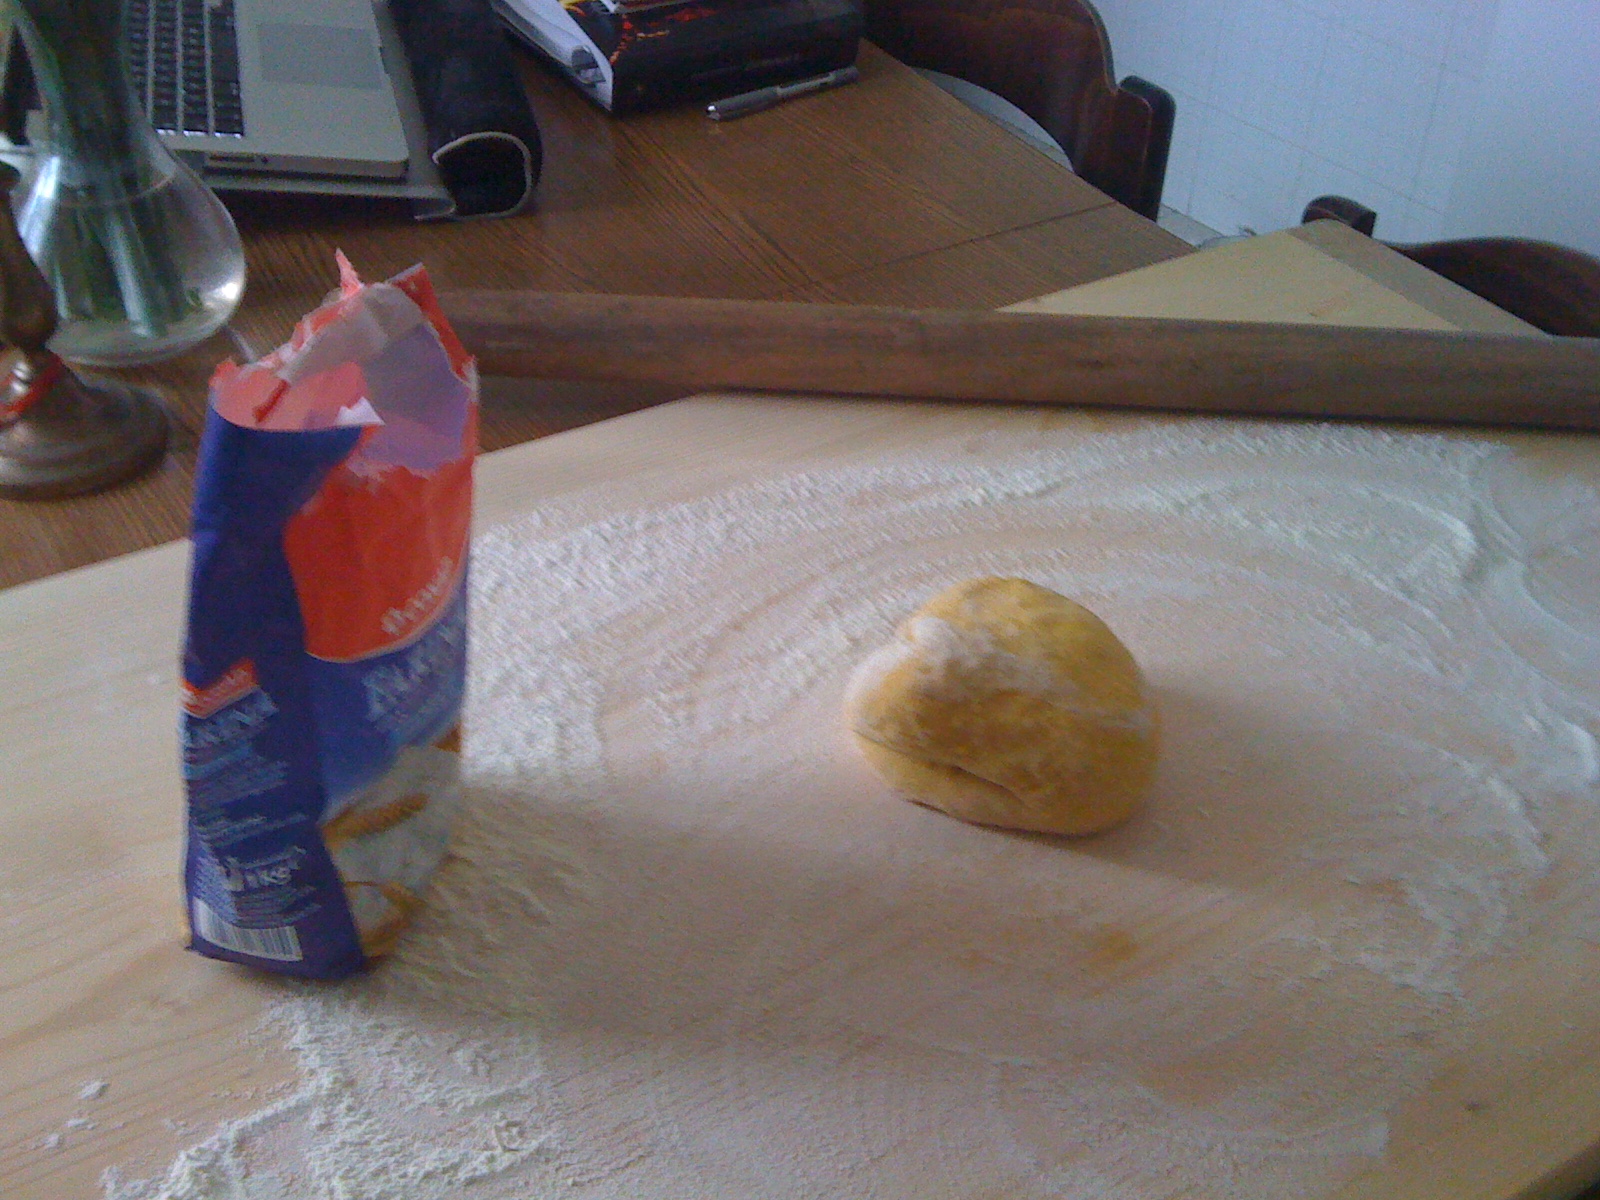
So far so good…
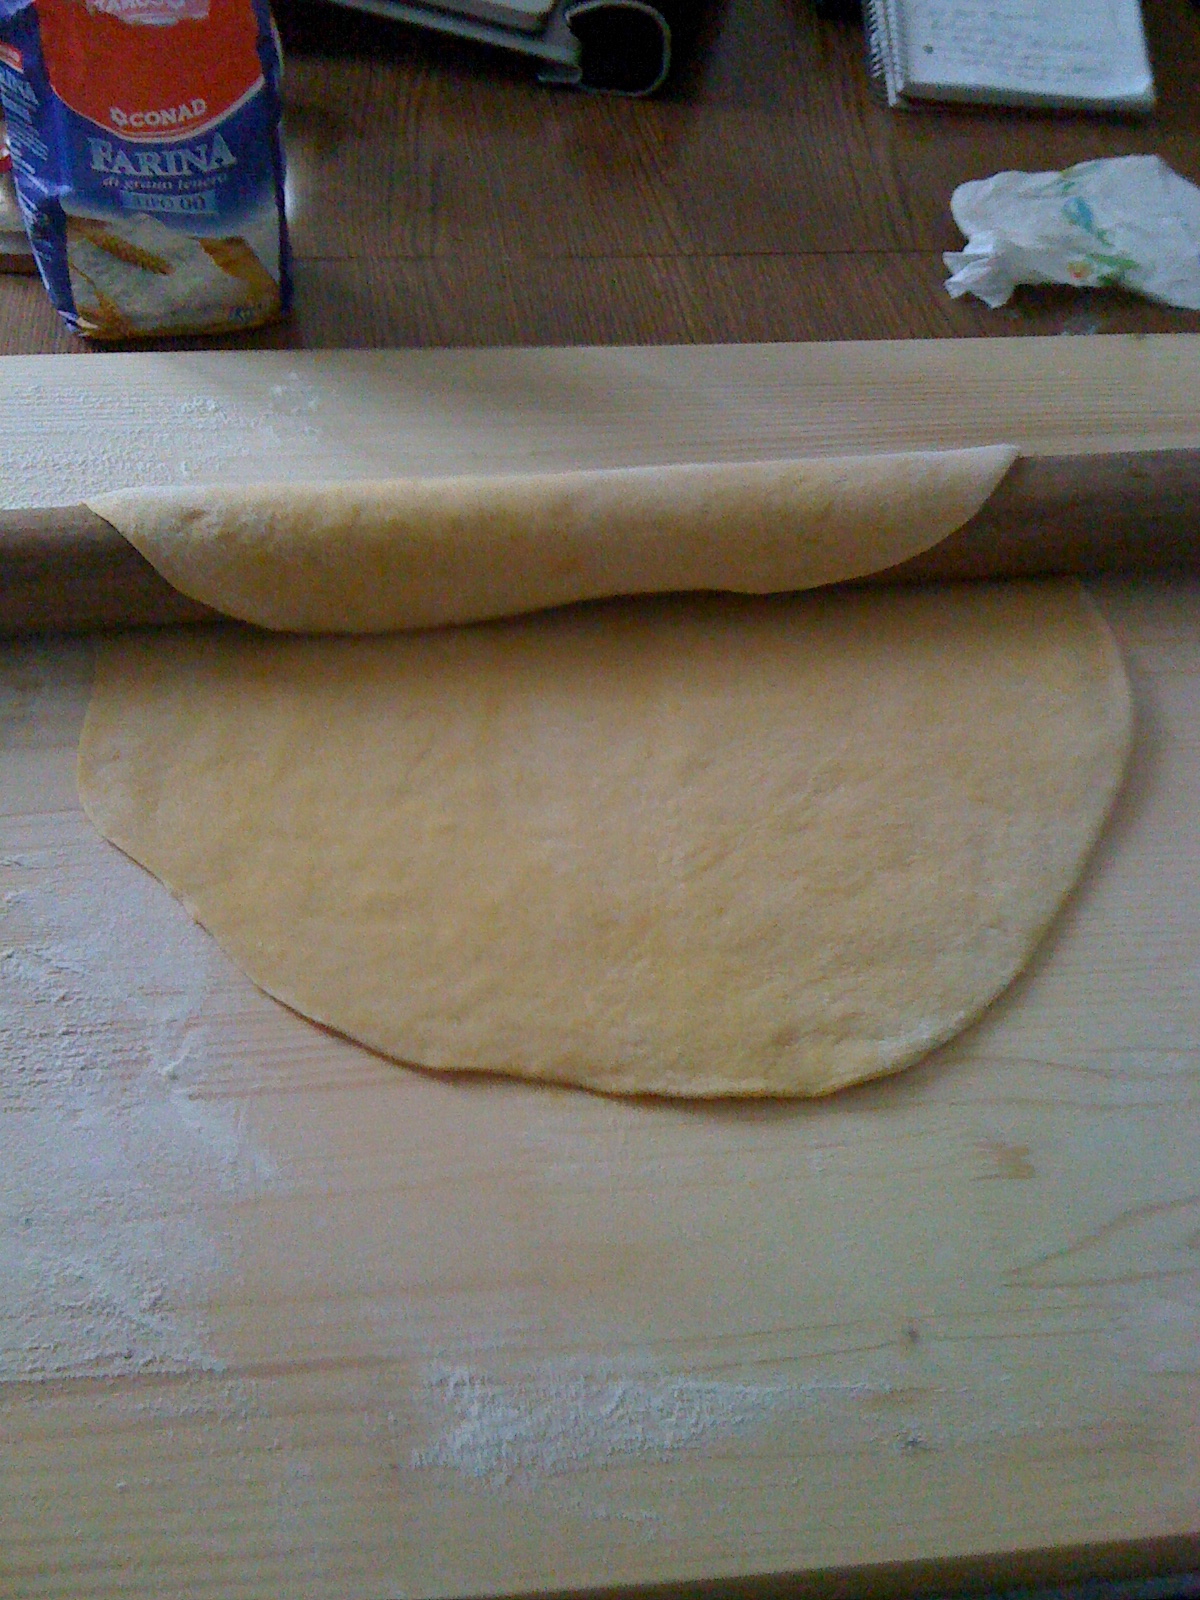
Marinella taught me that if you wrap the dough around the pin and drag and press it toward you, it helps roll it out. And it also just looks cool!
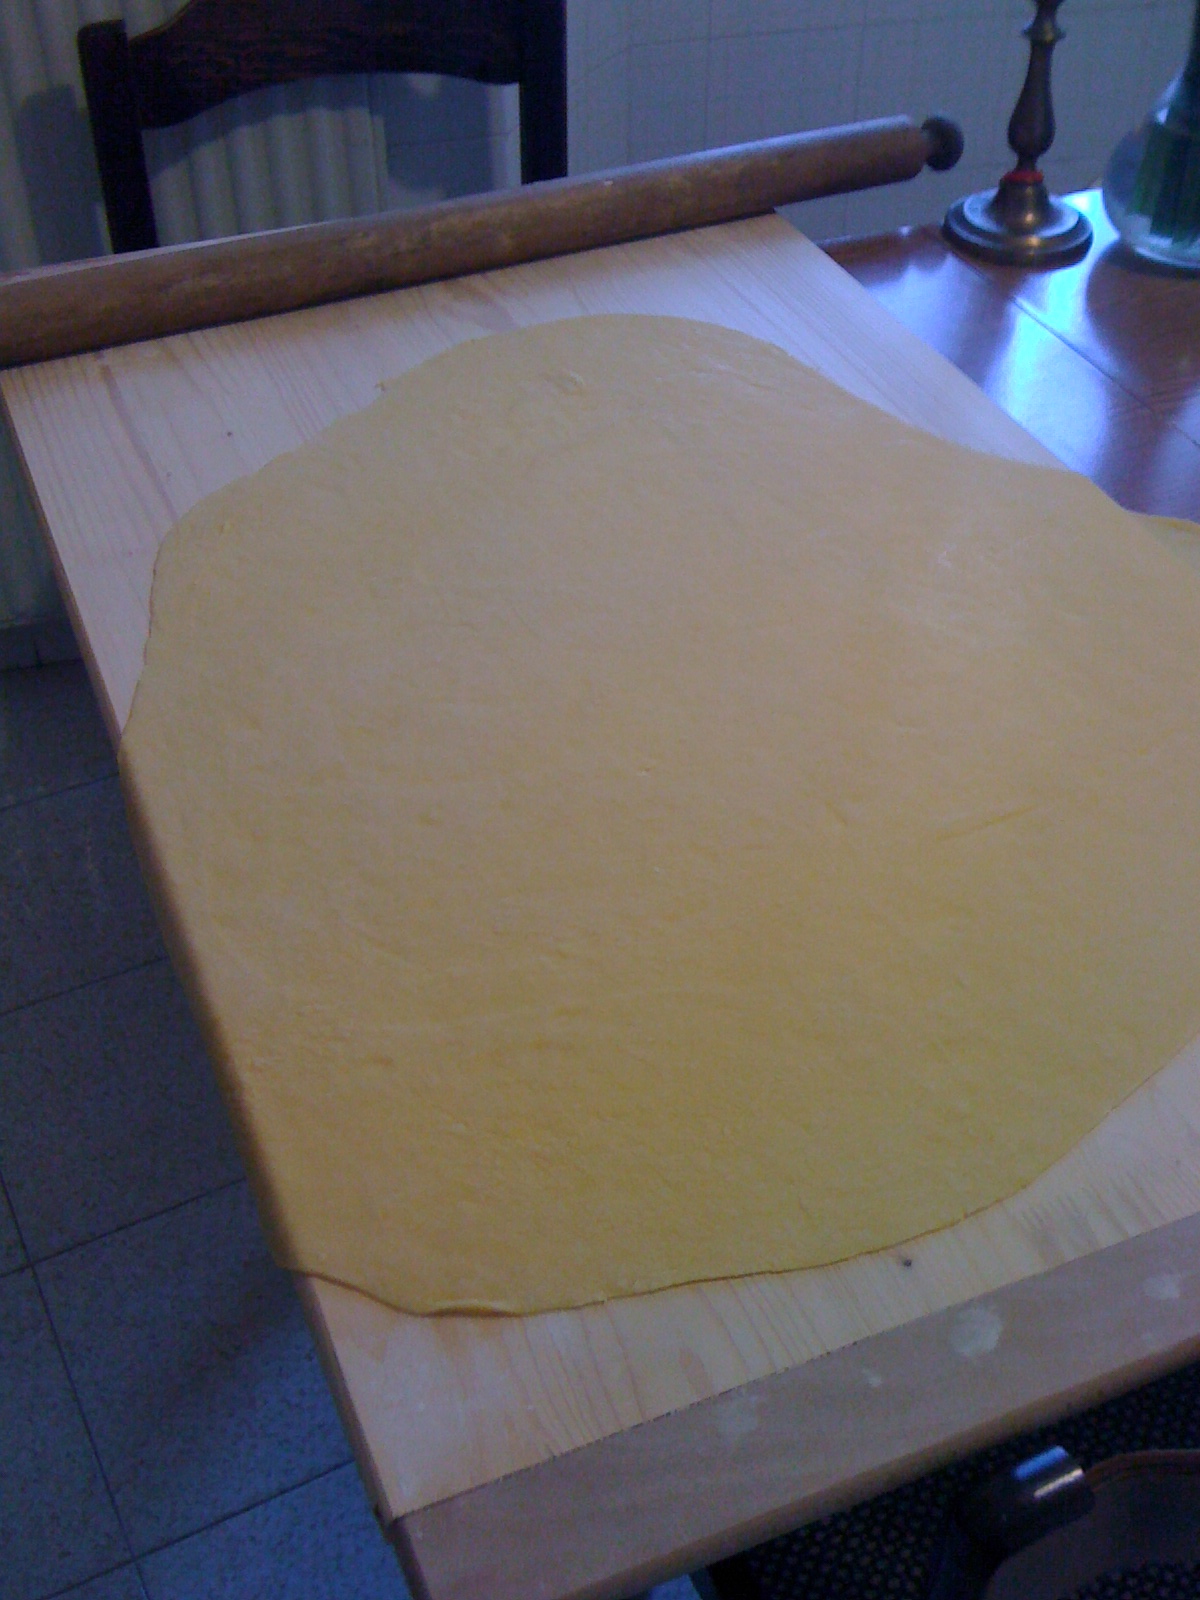
Letting it dry after achieving desired thinness.
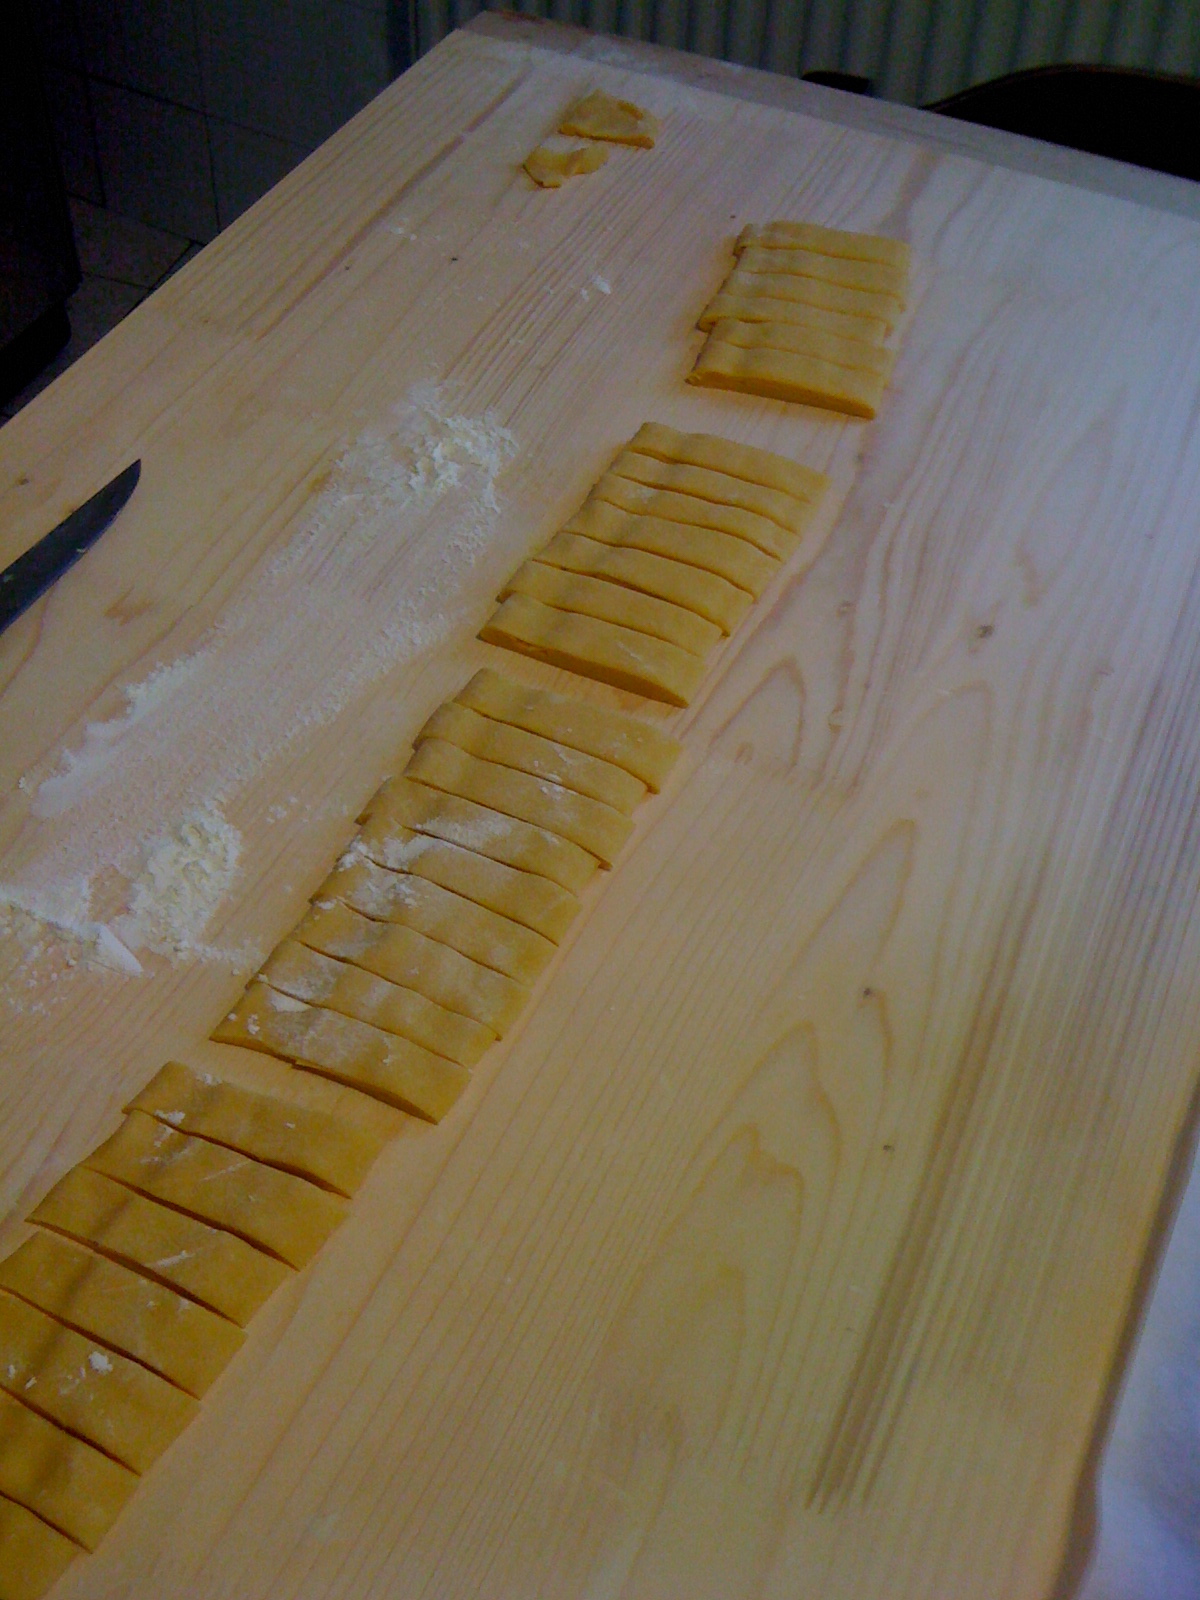
My strips couldn’t decide if they wanted to be tagliatelle or pappardelle.

Looks good to me!!!
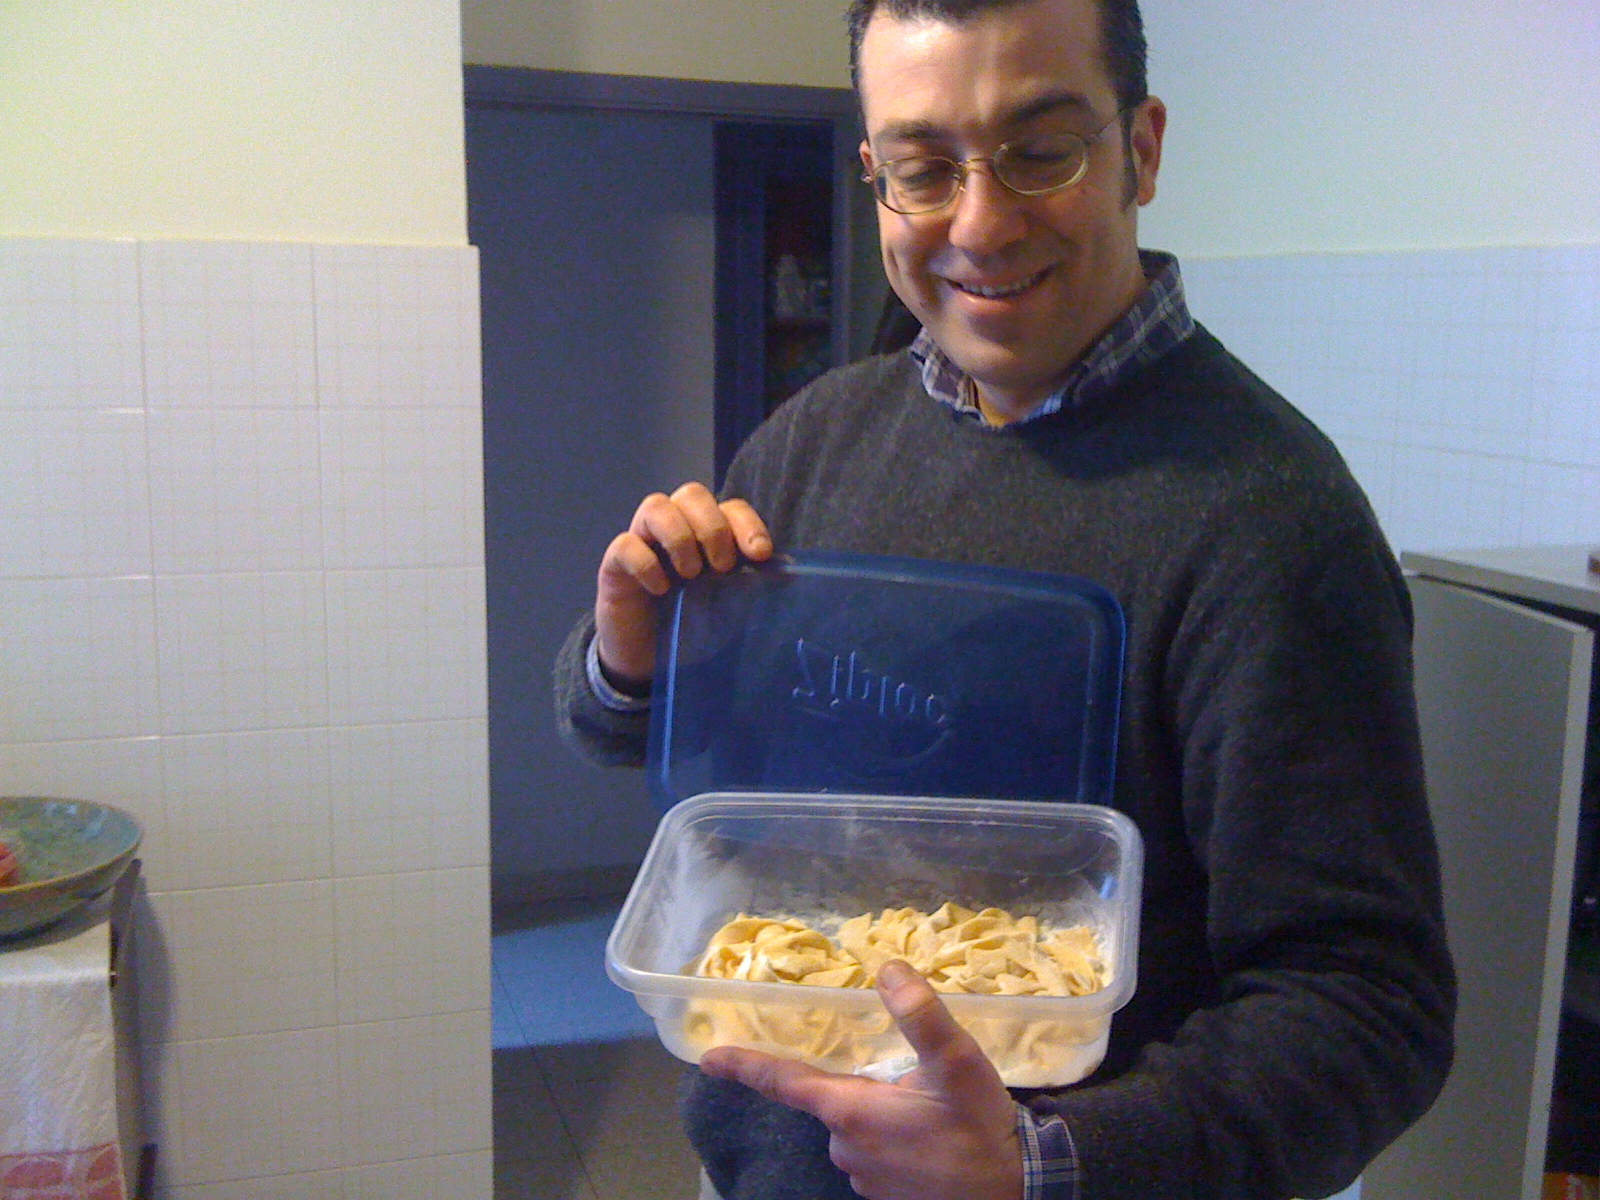
My friend Valerio who owns our local pet store agrees to give my pasta a try….No pressure!
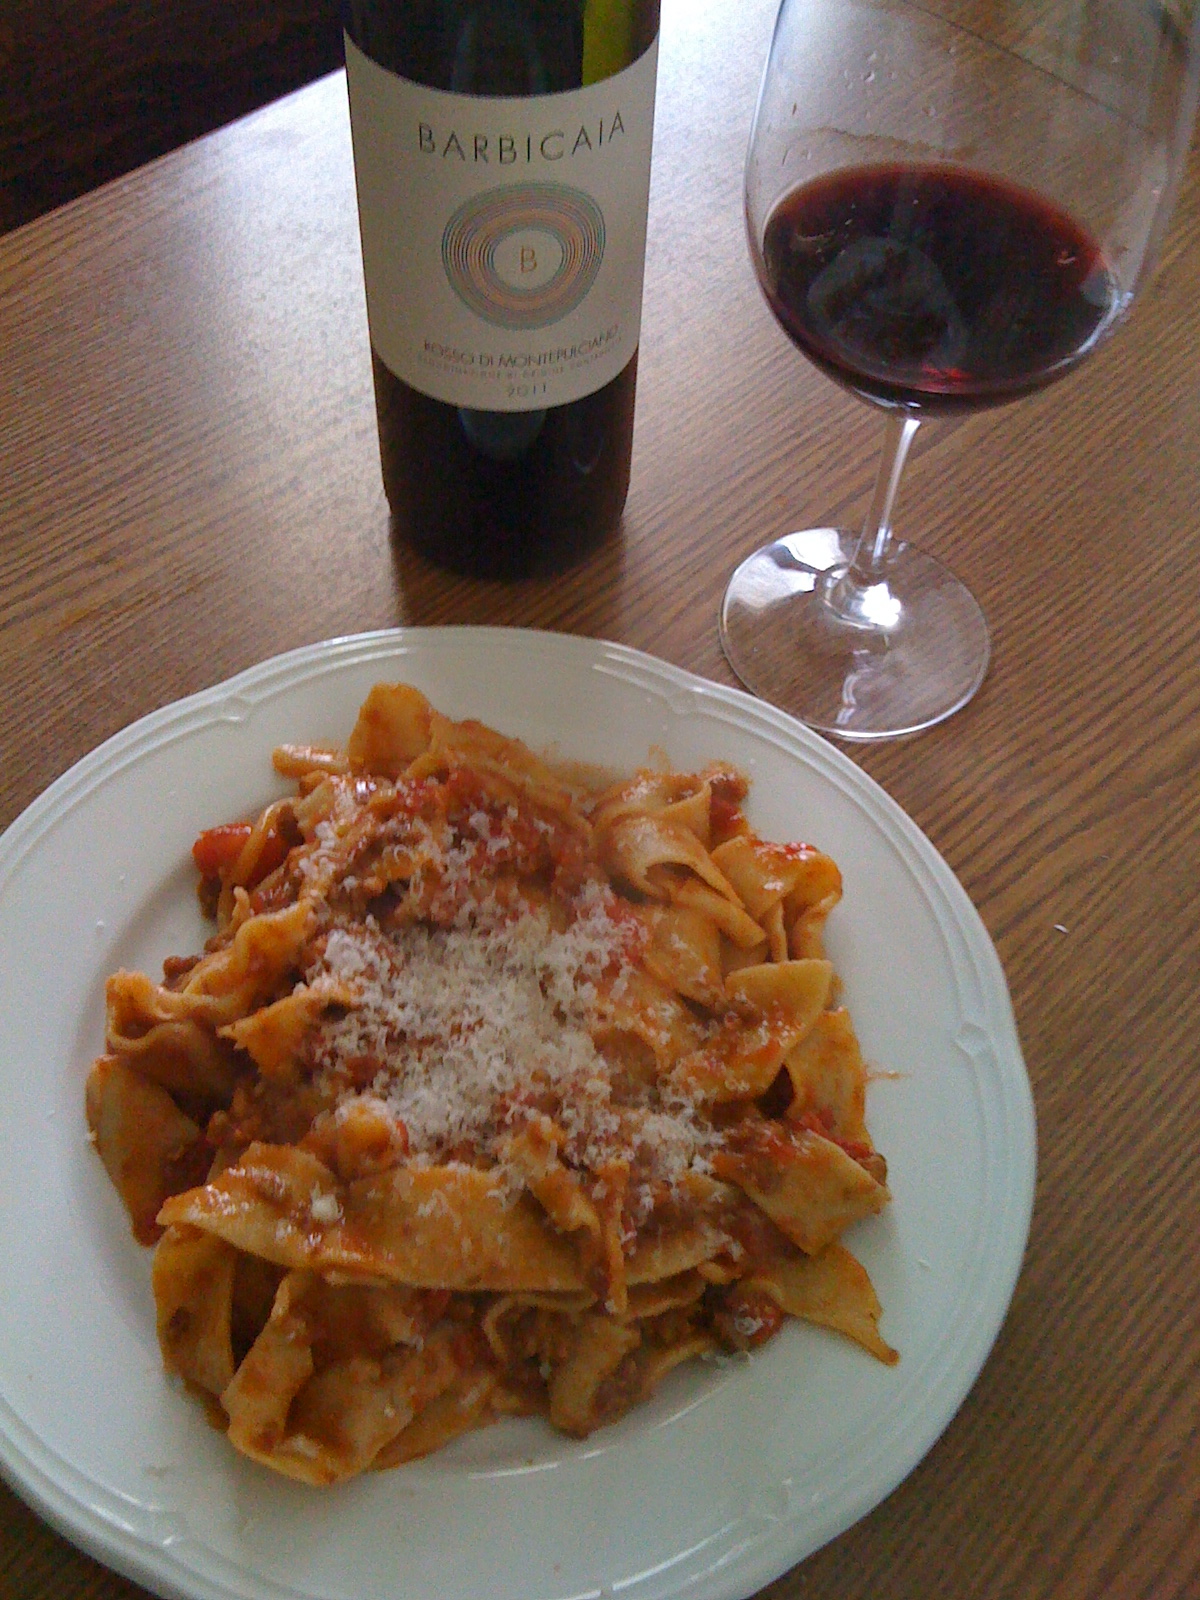
Tagliatelle with Marinella’s ragù di capriolo and my friend Marco Barbi’s wine. Delish!!


